Selling
Home Staging Tips That Actually Work: A Room-by-Room Guide
Home staging tips that actually work, room by room. Learn the first steps, what to prioritize on a budget, and the real cost of DIY vs a pro stager.
Home Staging Tips That Actually Work: A Room-by-Room Guide
Buyers decide how they feel about a house in the first few seconds, often before they walk past the entryway. Staging works because it shapes that first impression on purpose instead of leaving it to chance. The goal is simple: help a buyer picture their own life in the space, not yours.
This guide walks through the universal first steps every seller should take, then goes room by room so you know where your time and money make the biggest difference. You'll also get a clear picture of what staging costs, from a weekend of DIY to hiring a professional, and how to spend wisely when your budget is tight.
Why Staging Helps a Home Sell Faster and for More
A staged home gives buyers fewer reasons to hesitate. Empty rooms can feel cold and hard to read, and cluttered rooms feel smaller than they are. Staging fills that gap by showing a clean, livable version of each space that photographs well and walks well.
The payoff shows up in two places. Staged homes tend to spend less time on the market, and they often draw stronger offers because buyers connect with what they see. When a listing photographs cleanly, it earns more clicks online, and more clicks usually mean more showings.
There's a financial logic to it too. The money you put into cleaning, light repairs, and presentation is usually small next to the price of a home sitting unsold for weeks while you keep paying the mortgage. A home that lingers also invites lowball offers, since buyers assume something is wrong with it.
Staging is not about hiding flaws or tricking anyone. It's about removing distractions so the house itself gets a fair look. If you want a fuller view of how presentation fits into the whole selling process, our complete seller's guide for 2026 covers pricing, timing, and prep in one place.
The First Steps That Apply to Every Room
Before you touch a single room, four jobs come first: deep clean, declutter, depersonalize, and neutralize. These cost the least and move the needle the most, which is why they belong at the top of the list. Skip them and even expensive furniture rentals will fall flat.
A deep clean goes past your usual tidy-up. Think scrubbed grout, streak-free windows, wiped baseboards, clean light fixtures, and floors that shine. Buyers read a spotless home as a well-maintained one, and that impression follows them through every room they tour.
Decluttering means clearing surfaces, thinning out closets, and removing anything you don't need before move-out. A good rule is to pull out a third of what's in each room. Half-empty closets read as roomy, while packed ones make a buyer wonder if the home has enough storage.
Depersonalizing is about stepping back so the buyer can step in. Take down family photos, kids' artwork, diplomas, and anything tied closely to you. The buyer should be imagining their own life here, and that's harder to do when your name is on the wall.
Neutralizing covers color and scent. Bold paint and loud wallpaper narrow your buyer pool, so soft, warm neutrals on the walls give you the widest appeal. Keep smells light and clean, since strong air fresheners can read as a cover-up rather than a welcome.
Room-by-Room Staging That Pays Off
Once the basics are done, you can focus on the rooms that drive buyer decisions. Not every space carries equal weight. The living room, kitchen, and primary bedroom do the heavy lifting, so they deserve the most attention and the first dollars from your budget.
Work room by room rather than trying to do everything at once. Finish one space completely, photograph it if you can, then move on. This keeps the project manageable and lets you see real progress instead of a house in permanent disarray.
Living Room
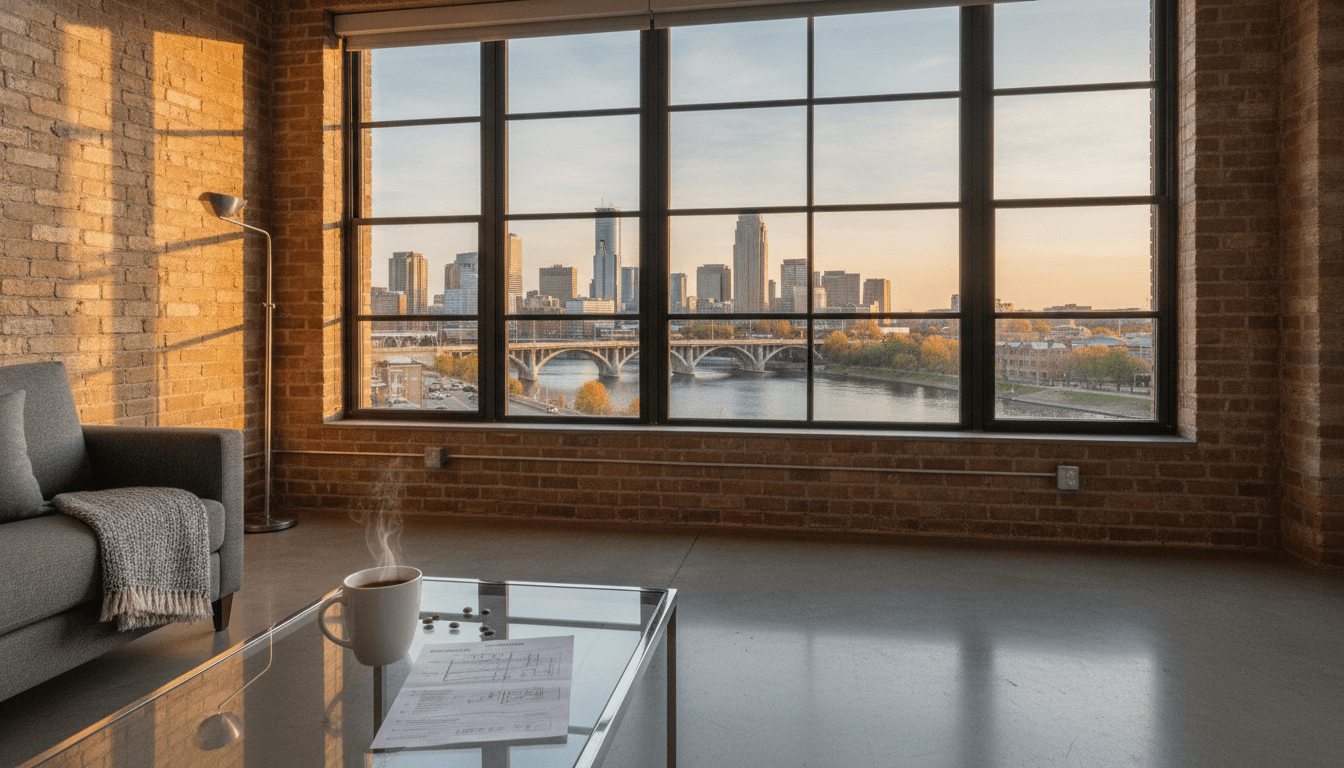
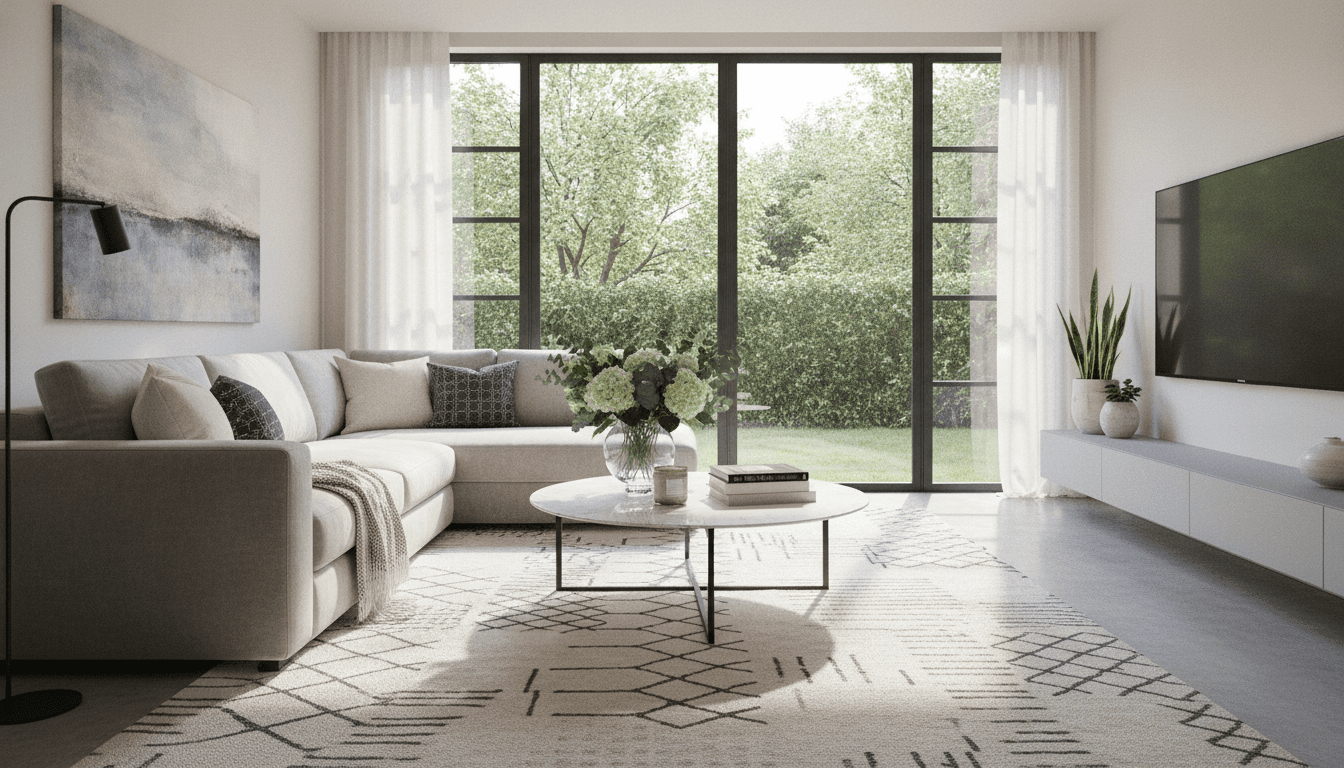
The living room sets the tone, so aim for open and inviting. Pull furniture a few inches off the walls to create a natural conversation area, which makes the room feel larger and more intentional. Float a sofa and a pair of chairs around a coffee table instead of pushing everything to the edges.
Keep the surfaces light. A few books, a plant, and one piece of simple art do more than a shelf crowded with knickknacks. If a piece of furniture is oversized or worn, removing it often helps more than replacing it.
Kitchen
Kitchens sell houses, so clear every counter you can. Buyers want to see workspace, and bare counters with maybe a bowl of fruit or a single plant read as clean and roomy. Hide the toaster, the knife block, and the stack of mail in a cabinet during showings.
Small upgrades go a long way here. New cabinet hardware, a fresh faucet, and a tube of caulk around the sink can make a dated kitchen feel cared for without a remodel. Make sure the sink is empty and dry every time a buyer comes through.
Primary Bedroom
The primary bedroom should feel like a retreat that appeals to a wide range of buyers. Dress the bed with clean, neutral linens and a few layered pillows, since a well-made bed anchors the whole room. Clear the nightstands down to a lamp and maybe one small item.
Closets count as part of this room. Thin out the clothes, line up the shoes, and add matching hangers if you can. A closet that looks half-empty tells a buyer there's room to spare, which is exactly the message you want.
Bathrooms
Bathrooms need to read as spotless, full stop. Scrub the grout, replace a stained shower curtain, and make sure no caulk is peeling or moldy. Fresh white towels, a new bath mat, and a clear counter give a clean, hotel-like feel for very little money.
Lighting and mirrors matter more here than people expect. A bright bulb and a streak-free mirror make a small bathroom feel larger and more modern. Tuck away toiletries, toothbrushes, and anything personal before each showing.
Dining Area
A dining area shows buyers how they might gather and host, so set it up to suggest that. Center the table, keep the chairs even, and add a simple runner or a low centerpiece. Skip the tall arrangement that blocks sightlines across the room.
If you have a small or awkward space, scale the table to fit rather than cramming in a large one. A two-seat bistro setup can make a tight nook feel purposeful instead of crowded. The point is to label the space clearly so a buyer knows how it works.
Home Office
Remote and hybrid work have made a dedicated workspace a real selling feature, so show one if you can. Even a spare corner with a desk, a chair, and good light tells buyers the home can flex to their needs. Keep the setup tidy and free of cords snaking across the floor.
If you have an extra bedroom doing duty as a catchall, this is the room to reclaim. Clearing it out and staging it as an office or a guest room gives the space a clear purpose. A room with an obvious use almost always shows better than a room full of boxes.
Entryway
The entry is the handshake of the house, and it takes only minutes to get right. Clear the shoes and coats, add a small bench or console, and put down a clean mat. A mirror near the door bounces light and makes a tight entry feel more open.
This is also where scent and first impressions land hardest. Make sure the door opens smoothly, the hardware is clean, and the space smells fresh. A buyer who feels welcomed at the threshold carries that goodwill into the rest of the tour.
Don't Forget the Outside
Plenty of sellers pour everything into the interior and run out of steam at the front door. That's a mistake, because the exterior is the first thing a buyer sees in person and often the first photo they see online. If the outside looks neglected, some buyers won't bother booking a showing at all.
Curb appeal doesn't require a landscaper. Mow the lawn, edge the beds, pull weeds, and add a few potted plants by the entry. A freshly painted front door and a clean walkway can lift the whole look of a home for the price of an afternoon's work.
Outdoor living space has become a real selling point, so stage it like an extra room. A clean patio with a small table, a couple of chairs, and a potted plant helps buyers picture morning coffee or weekend dinners outside. Sweep the deck, hose off the furniture, and put away the kids' toys and the grill clutter.
If you want a deeper list of exterior projects ranked by impact, our guide to curb appeal upgrades that boost your home's value breaks down where the outdoor budget pays off most.
What Staging Actually Costs
Staging spans a wide range, from nearly free to a meaningful line item, and the right level depends on your home and your market. The three main paths are doing it yourself, hiring a professional stager, or using virtual staging for photos. Most sellers end up blending them.
DIY is the cheapest route and covers the steps that matter most. Cleaning supplies, a few gallons of neutral paint, fresh linens, and some greenery add up to a modest spend. If you already own decent furniture, your main cost is time and elbow grease, which is why this path delivers the best return for budget-minded sellers.
Hiring a professional stager costs more and usually involves a consultation fee plus monthly rental on furniture and accessories for vacant or sparsely furnished homes. The price climbs with the size of the home and how many rooms you stage. For higher-priced listings or empty houses, that investment often pays for itself in a faster sale and stronger offers.
Virtual staging sits in the middle on price and applies only to your online photos. A designer drops digital furniture into empty rooms so listings look lived-in without renting a thing. It's a smart option for vacant homes on a budget, though you should disclose that the photos are virtually staged and make sure the empty home still shows well in person.
How to Prioritize on a Tight Budget
When money is limited, spend it in order of impact. The first dollars should go to a deep clean and decluttering, since those cost the least and change the most. From there, a few gallons of neutral paint give you the next-best return.
After that, focus on the rooms buyers weigh most: the kitchen, the living room, the primary bedroom, and the bathrooms. Small fixes like new cabinet hardware, fresh towels, and updated light fixtures stretch a small budget further than big-ticket furniture rentals. Curb appeal rounds out the list, since it shapes the very first impression for little money.
Timing Your Staging With Your Listing
Staging works best when it lines up with the moment your home goes live. You want the house looking its sharpest the day photos are taken and the first showings happen, since that early window draws the most attention. A listing gets its heaviest traffic in its first week or two on the market.
Build your prep timeline backward from your photo day. Give yourself a few weeks for cleaning, painting, and any small repairs so nothing feels rushed at the end. Coordinate with your agent on when to shoot photos and go live, because a polished listing that hits the market at the right time tends to perform better.
Season plays a role as well. The best listing window varies by region and by month, and aligning your prep with a strong selling period can compound the benefit of good staging. Our month-by-month breakdown of the best time to sell in 2026 can help you pick a target date and plan your staging around it.
Frequently Asked Questions
Is professional staging worth the cost?
For vacant homes and higher-priced listings, professional staging often pays off through a faster sale and stronger offers, which can more than cover the rental and consultation fees. For an occupied home that already has decent furniture, a DIY approach with a one-time consultation usually gives you most of the benefit for a fraction of the price.
Which rooms should I stage first?
Start with the living room, kitchen, and primary bedroom, since those carry the most weight in a buyer's decision. Bathrooms come next because spotless ones build trust fast. If your budget only covers a few spaces, those four give you the best return.
Can I stage my home myself?
Yes, and most sellers handle the highest-impact steps on their own. Deep cleaning, decluttering, depersonalizing, and a coat of neutral paint cost little and deliver the biggest gains. A short paid consultation can give you a room-by-room game plan if you want expert eyes without full-service pricing.
What is virtual staging and is it allowed?
Virtual staging adds digital furniture to your listing photos so empty rooms look lived-in, and it's a budget-friendly choice for vacant homes. It's allowed as long as you disclose that the images are virtually staged so buyers aren't misled. Keep in mind it only helps online, so the home still needs to show well in person.
Good staging comes down to discipline more than dollars. Clean hard, clear the clutter, neutralize the palette, and put your energy into the rooms buyers care about most. Do that, and you give your home its best shot at selling quickly and for a price you're happy with. For more on the full process, browse the rest of our selling guides on the blog.